Is once-a-week watering really enough to keep your yard alive in a Hill Country summer? If you live in Burnet under Stage 3 drought restrictions, you are not alone in asking this. You want to protect your trees, save high‑value plants, and keep the lawn from going dormant, all while staying within the rules. This guide shows you how to make every drop count with smart scheduling, simple retrofits, and soil‑friendly practices that match our local climate and soils. Let’s dive in.
Confirm your Stage 3 rules
Stage 3 restrictions can vary by water provider. Confirm your allowed watering day, hours, and any exceptions for hand‑watering or new plantings with your local utility before you change your schedule. Some providers allow hand‑watering with a hose, bucket, or soaker outside automatic irrigation days. Others set specific times only. Check first, then plan.
Set clear priorities
Under a once‑weekly limit, you cannot water everything the same. Focus on what matters most and reduce or skip nonessential areas.
- Trees and structural shrubs
- New plantings in their first year
- Vegetable beds and edible gardens
- High‑use lawn areas you actually use
- Ornamental turf or low‑priority landscape areas
Protecting trees comes first. They take years to replace and support shade and property value. Beds on drip come next, then the lawn areas you use most. Reduce or pause irrigation on ornamental turf and low‑use zones.
Build a weekly watering plan
Inventory and retrofit your zones
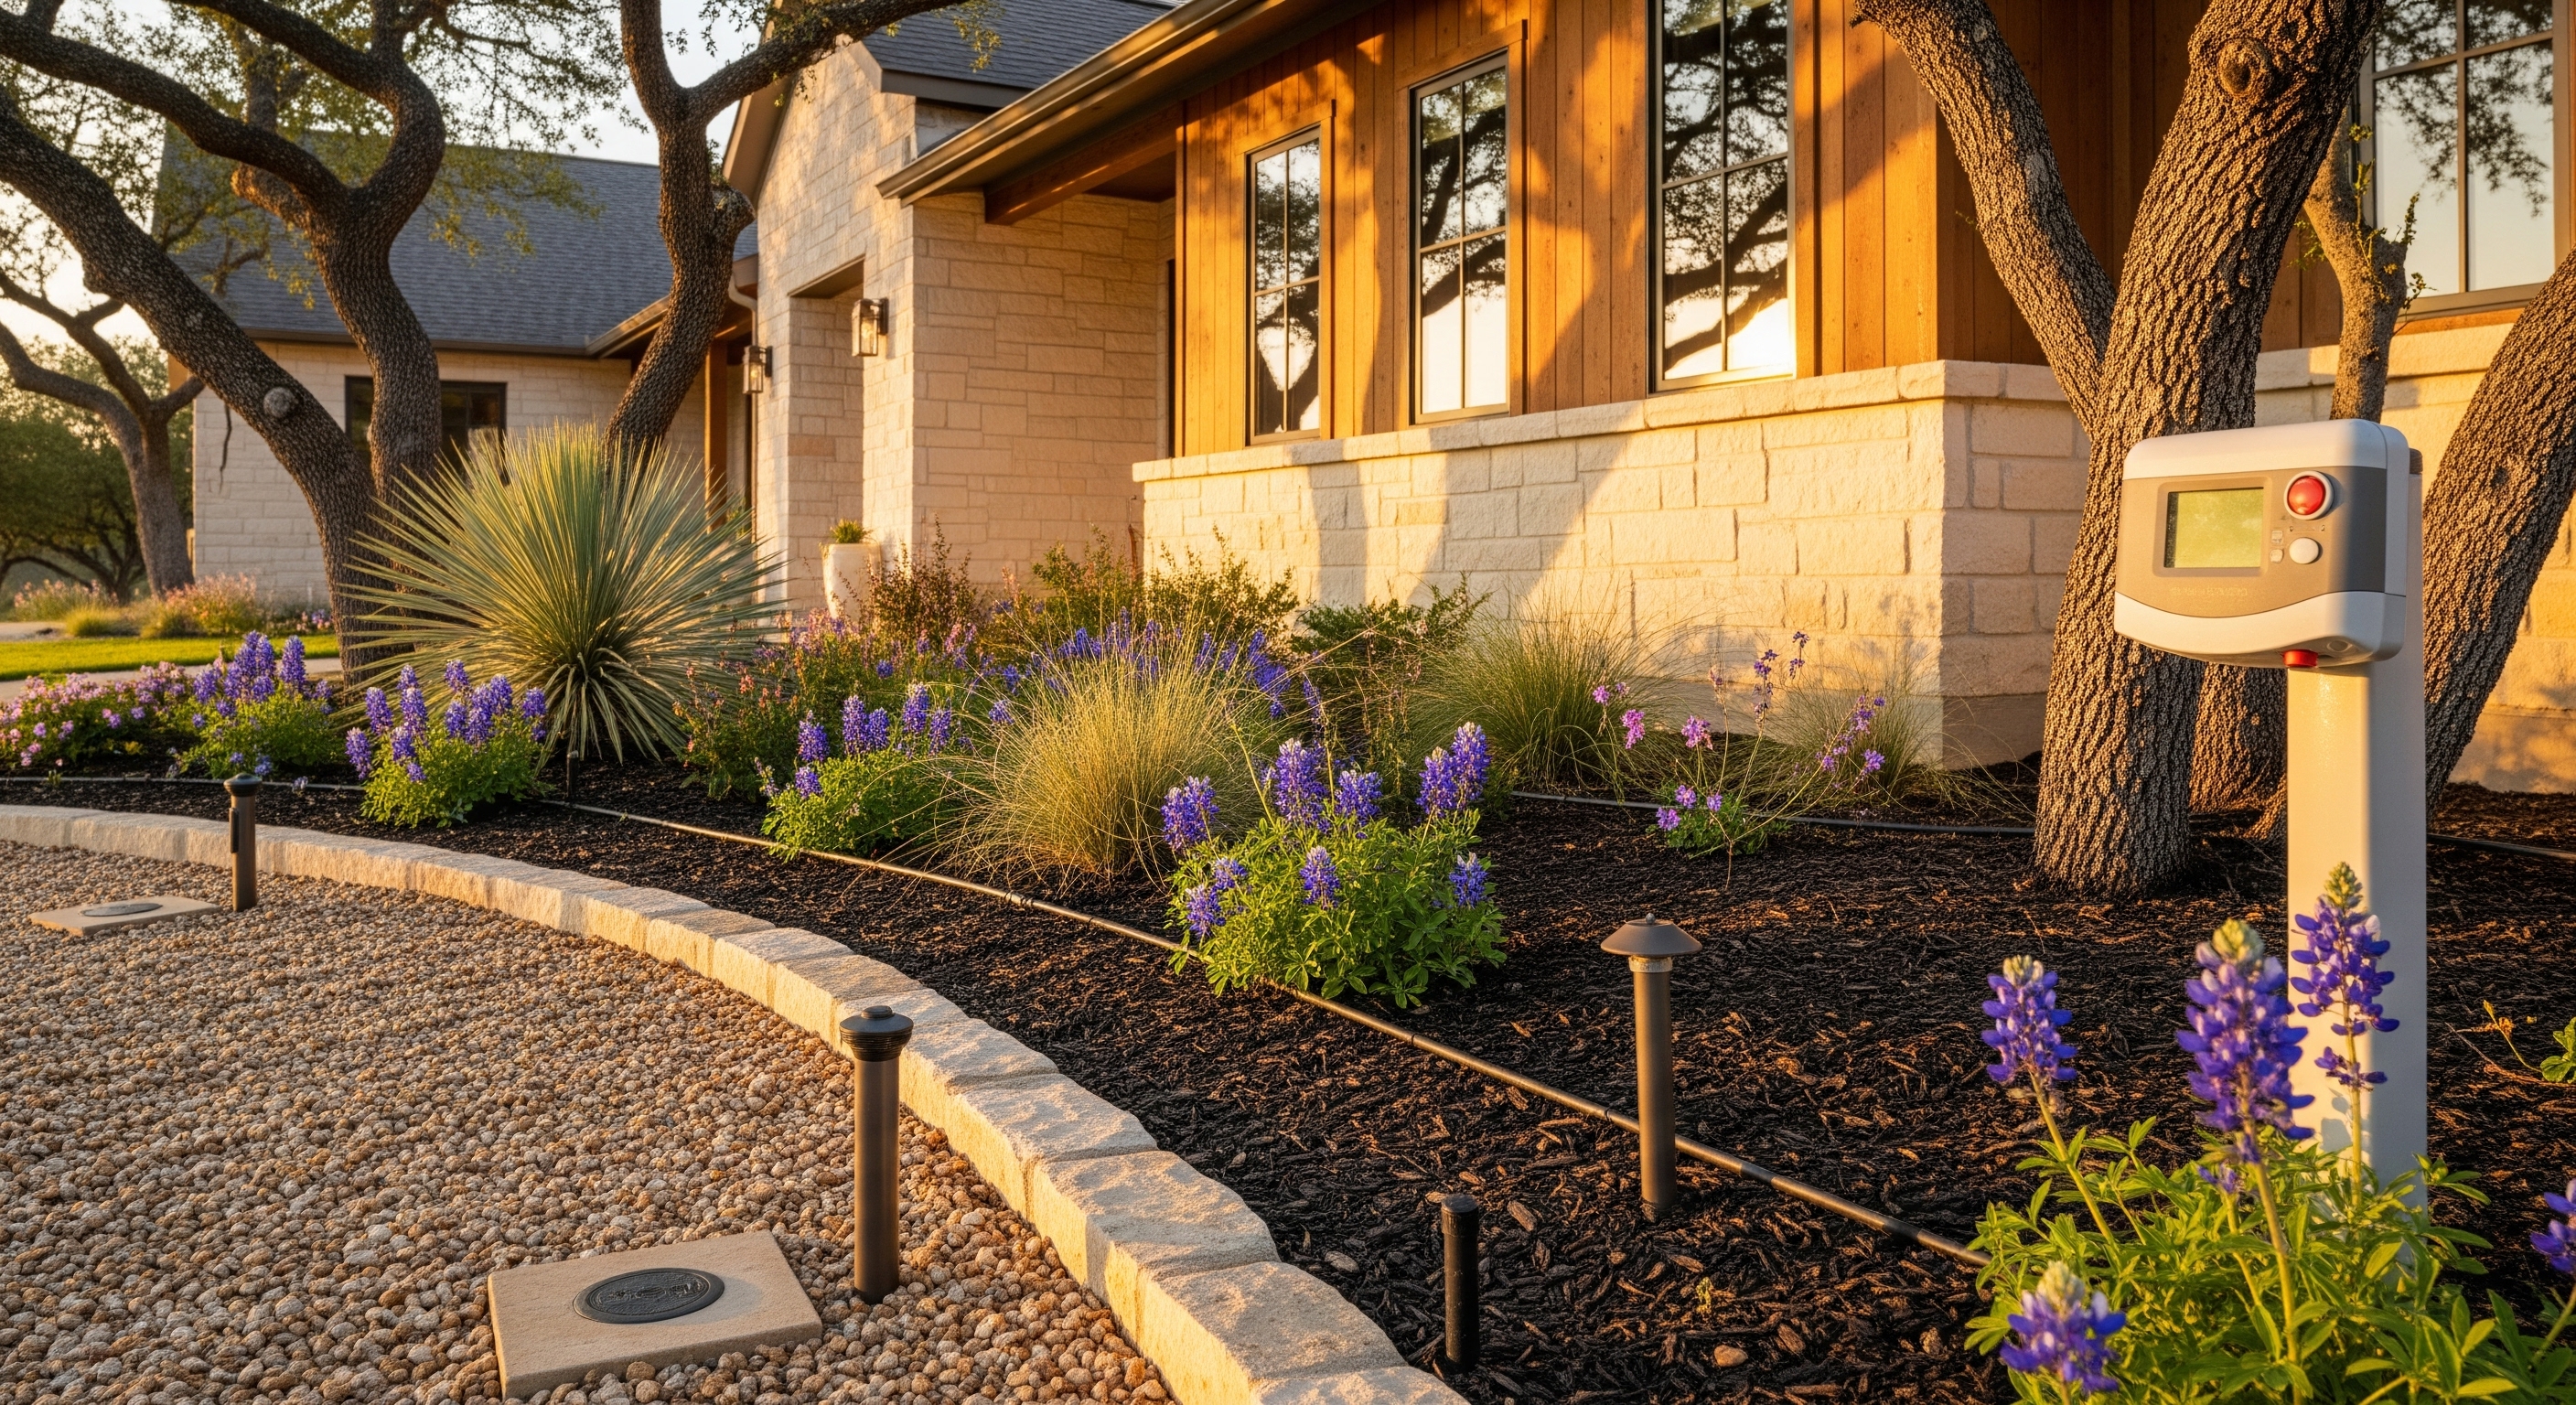
Start with a simple inventory. Label zones as trees, shrub/bed, lawn with spray heads, or lawn with rotors. If possible, convert spray heads to rotary nozzles or drip. Rotary nozzles and drip apply water more slowly and evenly, which helps on our shallow or rocky Hill Country soils.
- Move beds and tree rings to drip or micro‑irrigation.
- Use pressure regulators and check valves for consistent performance.
- Match emitter flow to your soil. Slower emitters help prevent runoff in shallow or compacted areas.
Schedule for early mornings
Water early, ideally before 9 a.m. You lose less to evaporation and reduce the risk of plant disease. Use cycle‑and‑soak on sloped or compacted areas. Run multiple short cycles with 30 to 60 minutes between cycles so water can soak in instead of running off.
Calibrate run times the simple way
You do not need proprietary numbers to set good run times.
- Sprinklers: Do a catch‑can test. Place several identical, straight‑sided containers around the zone, run it for a set time, and measure how much water collects. That tells you how fast the heads apply water so you can set the time needed for your target depth.
- Drip: Measure how much one emitter puts out in a minute. Multiply to get gallons per hour and estimate how long to reach the root zone.
- Confirm with a soil probe or screwdriver. After watering, the moist soil should reach about 6 to 12 inches deep for shrubs and 12 to 18 inches or more for trees. Adjust times based on what you find.
Give trees and shrubs what they need
Trees are your top priority. Water them slowly and deeply to reach active roots. In our area, many roots sit within the top 18 inches and spread well beyond the canopy edge. A deep soak once a week is usually better than frequent shallow passes.
- Use a tree ring of drip tubing or emitters placed from near the trunk flare out toward the canopy edge.
- Run long enough to wet 12 to 18 inches deep. Use cycle‑and‑soak if you see runoff.
- Mulch 2 to 4 inches deep over the root zone, leaving a gap around the trunk. Mulch reduces evaporation and evens out soil temperature.
For shrubs and perennials, drip is ideal. Aim to moisten 6 to 12 inches below the surface. Uniform coverage around the plant, not just at the base, helps roots spread.
Keep lawns alive on less water
Turf uses the most water per square foot. If you want to maintain a portion of lawn, focus on the areas you use and see. Allow lower‑use sections to go dormant or reduce water there.
- Use rotary nozzles or rotors for better uniformity than high‑pressure sprays.
- Aerate compacted areas to improve infiltration. Topdress lightly to boost organic matter.
- Water in early morning cycles to avoid runoff and target the root zone.
- Mow at the higher end of the recommended height to shade the soil.
Boost moisture with mulch, shade, and soil health
Our Hill Country soils are often shallow, rocky, or clay over limestone. They do not hold a lot of plant‑available water. Small improvements make a big difference.
Mulch the smart way
Add 2 to 4 inches of mulch to beds and around trees. Keep mulch a few inches away from trunks and plant crowns. Mulch slows evaporation, stabilizes soil temperature, and reduces weeds, which compete for water.
Create shade and hydrozones
Use temporary shade cloth on sensitive plants during extreme heat. Group plants by water need so drip zones can serve high‑need plants without overwatering drought‑tolerant ones.
Improve soil health
Add compost to increase water retention and infiltration. Over time, organic matter helps shallow soils hold usable moisture longer. In lawns, core aeration and light topdressing can support deeper roots.
Choose plants that fit the site
Favor native and adapted plants that thrive in the Hill Country. Reducing turf area and using groundcovers or hardscape in low‑priority spots can cut your overall water demand.
New plantings under Stage 3
Many providers allow limited exceptions for new plants. Check your utility’s rules, timeframes, and any hand‑watering allowances before you plant.
Best practices to help new plants establish:
- Install temporary drip with a pressure regulator and a simple timer to give deep, infrequent soaks.
- Plant during cooler months when possible.
- Apply mulch and provide temporary shade.
- Group new plants together on one temporary zone so you can water efficiently.
Monitor and adjust each week
A quick walkthrough pays off during Stage 3. Use a screwdriver or soil probe to check moisture before watering. If the soil is moist at the target depth, wait. Look for stress signs like wilting, leaf drop, or curling, and prioritize those plants for allowable hand‑watering.
Inspect the system for leaks, misaligned heads, or broken components. One broken head can waste a lot of water fast.
Weekly playbook for Burnet
Use this checklist to make your single watering day count.
Day before your allowed watering day:
- Check the controller and confirm the allowed day and hours.
- Inspect each zone for broken heads, clogged drip emitters, or overspray.
- Adjust pressure and head alignment. Replace or repair as needed.
- Clear drip lines and ensure filters are clean.
On your watering day, early morning:
- Trees: Run drip or low‑flow emitters in cycles for a deep soak that reaches 12 to 18 inches.
- Beds and shrubs: Run drip long enough to moisten 6 to 12 inches deep.
- Lawn: Run rotor zones in short cycles to reduce runoff. Focus on high‑use areas. Skip nonessential turf where possible.
- Vegetable beds and containers: If allowed, hand‑water to supplement, focusing on root zones.
After watering:
- Probe the soil to confirm depth of moisture.
- Note any runoff and reduce future runtimes or add more soak cycles.
- Record run times so you can adjust next week.
Smart controllers and simple sensors
Weather‑based or ET controllers can help you dial in seasonal adjustments. During Stage 3, make sure your controller only runs on your allowed day and during allowed hours. Add a rain sensor, soil moisture sensor, or flow sensor if you can. These tools can prevent waste and alert you to leaks.
Even without new hardware, simple changes help: fewer zones running at once, longer soak cycles, and early morning schedules.
Troubleshooting quick guide
- Dry spots after watering: Do a catch‑can test to check uniformity. Consider switching to rotary nozzles or adjusting head spacing.
- Runoff on slopes: Use shorter cycles with longer soak intervals. Reduce precipitation rate with different nozzles or drip.
- Plants still wilting: Probe the soil. If the top looks dry but 6 to 12 inches down is moist, you may be fine. If it is dry at depth, lengthen run time or add a cycle.
- High water use: Check for leaks, stuck valves, or running toilets. Add a master shutoff or flow meter if possible.
The Hill Country difference: tailor to our soils
Shallow, rocky, or clay soils common in Burnet and the Hill Country do not absorb water quickly. That is why slow application, cycle‑and‑soak, and drip make such a difference. Native and adapted plants like live oak, yaupon, and salvia typically need less frequent irrigation once established. Pairing the right plant with the right spot helps you thrive during Stage 3 and beyond.
Bottom line
Once‑weekly watering can work in Burnet if you protect trees, convert key zones to drip, water early with cycle‑and‑soak, and build moisture in the soil with mulch and compost. Focus on high‑priority plants, simplify your schedule, and verify the rules with your provider so you stay compliant.
If you are preparing to sell or buy in the Hill Country and want practical, local guidance on getting your yard ready during Stage 3, reach out to Teresa Byrn for friendly, hands‑on support.
FAQs
What do Stage 3 watering rules mean in Burnet?
- Stage 3 usually limits outdoor irrigation to once per week for automatic systems, with specific days and hours set by your provider. Confirm your exact rules before scheduling.
How should I prioritize plants during once‑weekly watering?
- Focus on trees and structural shrubs first, then new plantings, then edibles, then high‑use lawn areas. Reduce or skip ornamental turf and low‑priority zones.
How do I set sprinkler runtimes without special tools?
- Use a catch‑can test to find your precipitation rate, then run in short cycles to reach the root zone without runoff. Verify depth with a soil probe or screwdriver.
Is drip irrigation better for Stage 3?
- Drip targets the root zone, applies water slowly, and reduces evaporation and runoff. It is ideal for beds, tree rings, and new plantings in Hill Country soils.
Can I hand‑water outside my assigned day?
- Many providers allow limited hand‑watering or watering with a bucket or soaker hose outside automatic irrigation schedules. Check your provider’s Stage 3 rules first.