Is a new-build in Leander on your horizon, but the timeline from contract to keys feels like a mystery? You’re not alone. With rapid growth in Williamson County and many builders at work, it helps to know what happens, when it happens, and what you need to do at each step. This guide walks you through every stage so you can stay ahead of deadlines, reduce stress, and get to closing day with confidence. Let’s dive in.
Leander build timeline at a glance
Most production homes in Leander take about 4 to 9 months from contract to keys. Quick-move spec homes can wrap up in 2 to 6 months if the structure is already underway. Semi-custom or custom homes can take 6 to 18 months or more, depending on scope.
These ranges shift based on permits, weather, selections, change orders, and builder backlog. Use your builder’s projected schedule as a guide and plan for some flexibility.
Stage 1: Contract and pre-construction
This first stretch usually runs 0 to 2 weeks. You’ll sign the purchase contract, pay earnest money, and receive a selections schedule and a preliminary completion estimate. Review what is included versus upgrades, and note all deadlines.
Your key tasks:
- Confirm contract dates for structural and design selections.
- Understand allowances and any liquidated-damages or late-completion language.
- Save the HOA rules and architectural guidelines if applicable.
Stage 2: Site work and foundation
Over the next 2 to 6 weeks, the builder clears the lot, sets utilities and drainage controls, and pours the slab or foundation. Municipal inspections occur at this stage.
Your key tasks:
- Verify lot staking, setbacks, and orientation early.
- Ask your agent to confirm permit status and inspection timing.
- Stay in touch with your lender if a construction draw is required.
Stage 3: Framing and exterior shell
Framing and exterior shell often take 2 to 6 weeks. Walls go up, roof trusses and sheathing are installed, and windows and exterior doors are set. The city or county inspects framing.
Your key tasks:
- Attend a framing walk if the builder offers one.
- Confirm room layout, window and door placements, and overall orientation.
- Note any issues in writing with photos for clarity.
Stage 4: Rough-ins for systems
Plumbing, electrical, and HVAC rough-ins take about 2 to 4 weeks. After municipal inspections, insulation is added.
Your key tasks:
- If permitted, do a systems check to confirm outlet, switch, and fixture locations.
- Ask about any inspection holds that could delay progress.
- Coordinate with your lender on any required inspection for the next construction draw.
Stage 5: Insulation, drywall, and prep
This stage runs 2 to 4 weeks. Insulation goes in, drywall is hung, taped, and finished. Exterior cladding and some interior millwork may be completed.
Your key tasks:
- Attend a pre-drywall walk if offered. This is your last look at framing and rough-ins before they are concealed.
- Confirm that insulation and drywall inspections have passed.
- Keep your selections list handy to avoid surprises later.
Stage 6: Finishes and final systems
Finishes often take 3 to 8 weeks. You’ll see paint, cabinetry, countertops, flooring, and trim installed. Appliances arrive, plumbing and electrical are trimmed out, HVAC is commissioned, and exterior landscaping and flatwork are completed.
Your key tasks:
- Check that selections match your signed choices.
- Start preparing your homeowners insurance binder for closing.
- Plan your move timeline, keeping some cushion for punch-list items.
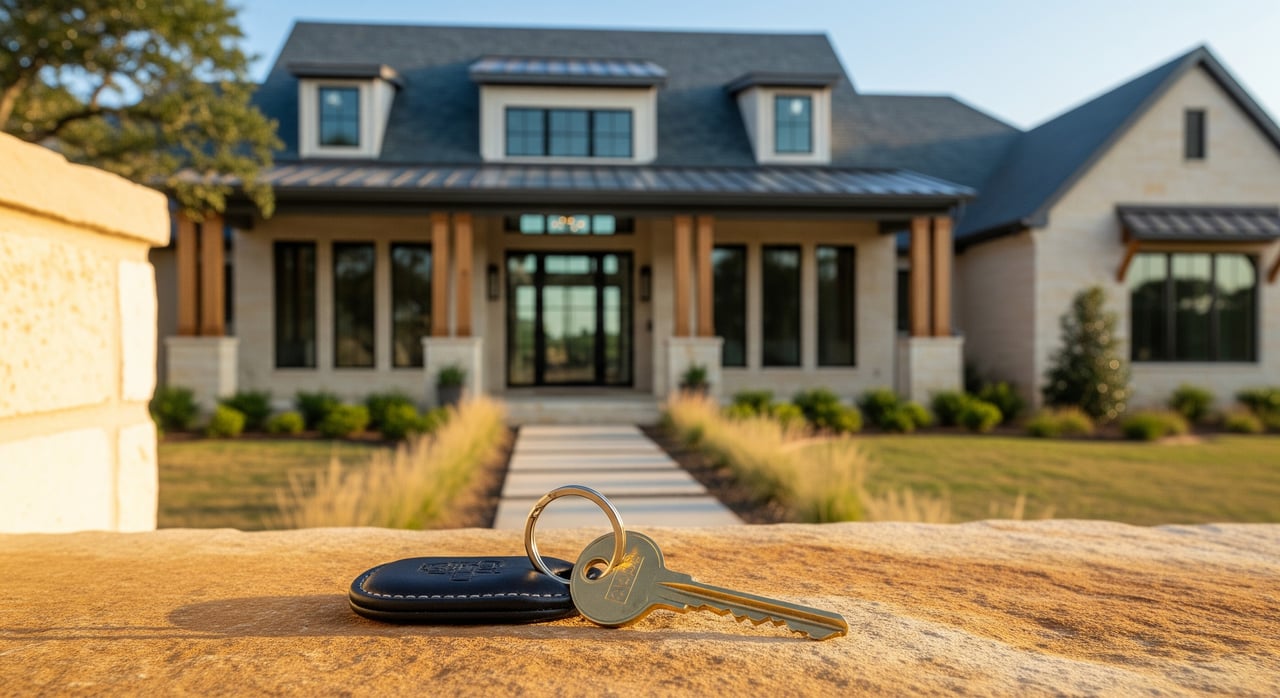
Stage 7: CO, closing, and keys
In the last 1 to 3 weeks, the municipality issues a Certificate of Occupancy or final inspection sign-off. The title company schedules closing, the lender funds, and the builder releases keys at or after closing per your contract.
Your key tasks:
- Complete the final walkthrough and create a punch list.
- Confirm insurance, final lender conditions, appraisal, and title requirements.
- Verify if the contract requires closing before CO and what that means for possession.
Selections and change orders
After contract, you will receive a design-center schedule with firm deadlines. Structural decisions usually lock earlier than finishes. Common selections include exterior elevation and colors, flooring, cabinets, countertops, tile, lighting, plumbing fixtures, and landscaping packages.
Change orders often add cost and can delay delivery, especially if they affect cabinets, counters, or windows. Best practice is to keep all changes in writing using the builder’s form and to confirm the new completion estimate and any added deposits.
Site visits that matter
Plan touchpoints that protect your interests and catch issues early.
Key visit moments:
- Early lot orientation: Verify setbacks, view lines, and drainage patterns.
- Framing walk: Confirm layout, window and door placement, and stair and door swings.
- Pre-drywall: Review rough-ins, insulation plans, and blocking for wall-hung items.
- Final walkthrough: Test systems, note cosmetic items, and verify grading slopes away from the foundation.
Bring these items:
- Printed checklist and your signed selections sheet
- Phone for photos and videos
- Tape measure and a small level
Financing basics and lender checkpoints
Your loan type influences the process. You might use a conventional mortgage for a near-finished spec home, a construction-to-permanent single-close loan, or a stand-alone construction loan that converts to a permanent mortgage later. FHA and VA options can work for new construction, but may include additional appraisal or inspection needs.
Expect lender checkpoints:
- Pre-approval early to avoid last-minute delays
- Appraisals timed to spec home completion or tied to construction value for draw loans
- Third-party inspections before each draw on construction loans
- Final conditions: appraisal, title policy, insurance binder, and CO or acceptable final inspection before funding
Common lender delays include pending appraisal updates, draw inspection fails, missing documents, and title exceptions. Stay proactive with your lender and share builder documents early.
Final walkthrough, punch list, and warranty
Your final walkthrough is the time to flag incomplete or defective items before closing. Typical punch-list items include paint touch-ups, trim gaps, minor flooring or tile issues, and adjustments to doors or cabinetry. Larger items may need a scheduled completion before closing.
Warranties often follow a 1-2-10 pattern. Expect one year for workmanship and materials, two years for major systems like electrical, plumbing, and HVAC, and ten years for structural components. Document issues with date-stamped photos and submit them through the builder’s warranty portal. Keep copies of all requests and communications.
After closing, set up utilities, confirm trash and internet providers, and check landscaping and drainage. Some builders deliver minimal landscaping before closing and finish later. Verify what is included in your contract.
Local Leander factors to know
Leander and Williamson County continue to grow quickly. That can mean more permit volume, busy inspection schedules, and active HOA oversight. Some subdivisions require HOA or Architectural Review Board approval for elevations, exterior materials, and landscaping, which can affect timing.
Utilities and tap fees can vary by subdivision. Confirm what the builder covers and what is your responsibility. If commute patterns or road work matter to you, ask about planned improvements that could impact access during construction.
If school boundaries are important, verify current assignments directly with the local district since boundaries can change as new developments open.
Buyer checklist and watch-outs
Quick checklist:
- Pre-approval in place and shared with builder
- Selections schedule saved to your calendar
- Attend framing, pre-drywall, and final walkthroughs
- Confirm permit and inspection milestones with your builder
- Prepare homeowners insurance binder before closing
- Review title, closing funds, and key release terms
Watch-outs:
- Change orders can add cost and push back completion
- Permit or inspection backlogs can slow the schedule
- Supply or labor shortages can affect windows, roofing, or cabinetry
- Delayed selections or missing lender documents often cause avoidable delays
How your agent helps
A hands-on agent aligns the builder, lender, and title company while keeping you informed. You should expect help tracking deadlines, attending key site visits, documenting issues with photos, reviewing upgrade pricing, and coordinating lender and appraisal needs. This kind of oversight protects your time and budget.
If you want a local partner who handles the details and communicates clearly from contract to keys, connect with Teresa Byrn. Teresa brings hyperlocal expertise, proactive construction oversight, and a client-first approach that keeps your build on track and your closing smooth.
FAQs
How long do Leander production builds take?
- Most production homes run about 4 to 9 months from contract to keys, depending on permits, weather, selections, and builder backlog.
What is the difference between spec and build-to-order?
- Spec homes are already underway and can close in roughly 2 to 6 months, while build-to-order homes typically take 4 to 9 months from contract.
When should I lock in design selections?
- Structural choices usually lock early, with finishes due later. Builders set firm deadlines tied to the construction schedule, so add these dates to your calendar.
Can I make changes after signing the contract?
- Yes, through documented change orders. Expect added cost and possible delays, especially with cabinetry, counters, or windows.
What lender milestones should I expect?
- Pre-approval, appraisal timing, draw inspections for construction loans, proof of insurance, title clearance, and a Certificate of Occupancy or acceptable final inspection before funding.
What happens at the final walkthrough?
- You and your agent create a written punch list of unfinished or defective items. Minor items may be completed after closing, but major items should be resolved or scheduled with clear remedies.
What warranties do most builders provide?
- Many offer a 1-2-10 style warranty: one year on workmanship and materials, two years on major systems, and ten years on structural components.